User Tools
Sidebar
This is an old revision of the document!
Table of Contents
Juliet Towers
Contents
- Description
- Dimensions
- Assembly/Disassembly Instructions
- Storage
- Safety
- Builders' Notes
Description
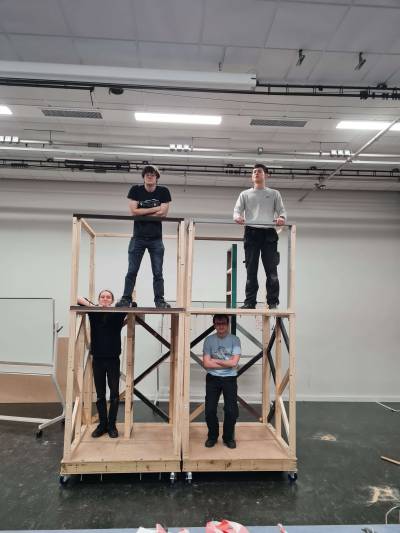
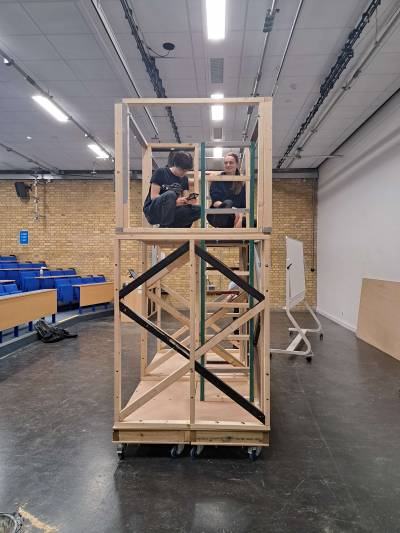
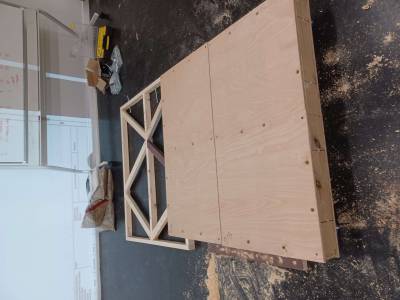
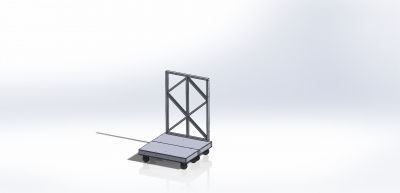
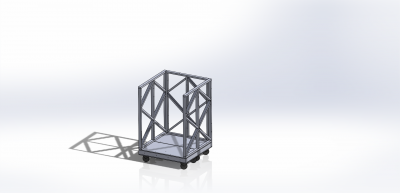
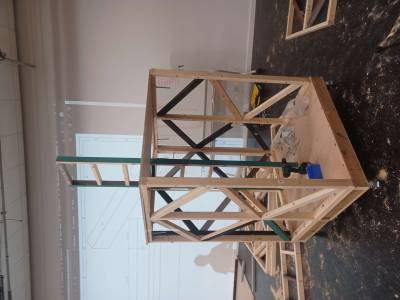
Two towers were built. The bases are 4' by 4' wide. The towers have two floors, with a central ladder to climb between them. The ground floor is at 1' high, and the top floor is at 6' high. Three sides of the ground floor are enclosed by a truss-like structure. The top handrail is continuous apart from one side, which has a half length handrail to allow walking from one tower to another (or onto a piece of 6' deck).
The towers were built as a left and right symmetrical pair. All parts were designed to be interchangeable, allowing for almost any configuration, but due to various inaccuracies of planning and construction the parts don't all line up. A suggested design for assembling follows - deviate from this at your own risk!
Dimensions
Assembly/Disassembly Instructions
This set of instructions is for one tower. Be sure to check you have the pieces for the right tower, otherwise the holes may not line up (sorry!).
Bolts for the bases (12mm diameter) are stored in the bases, keeping the top piece of plywood on. Bolts for the rest (10mm diameter, various lengths) are stored in two plastic chocolate boxes.
1. Bases
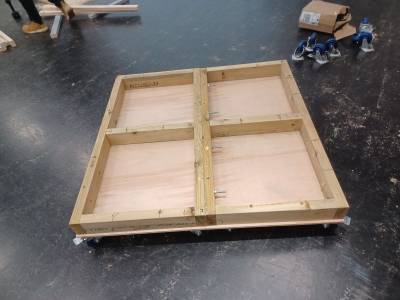
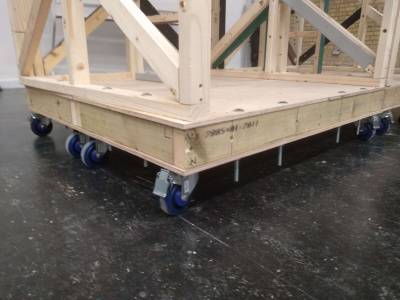
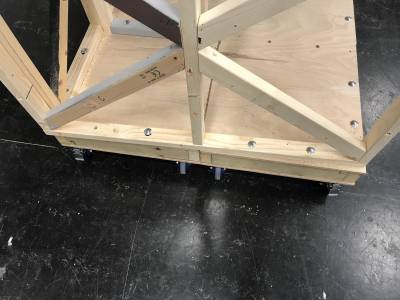
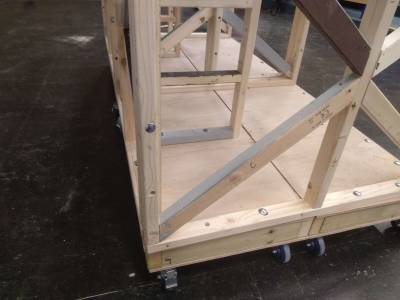
Begin by getting out the two 2'x4' wheeled base pieces for the tower. Undo all the bolts, and lift off the top piece of plywood from each. Put the two red-painted sides together and insert 4 long bolts through the bolt holes. Ensure all 4 sandbags (or appropriate weights) are in place and in good condition.
Replace the top plywood but do not bolt it down yet.
2. Back and Sides
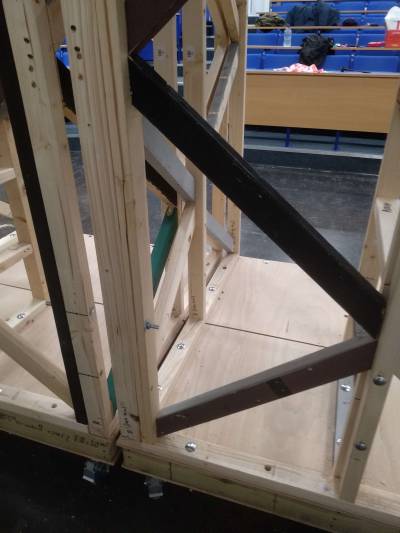
The outer bolts on the bottom of the back and side pieces are difficult to access. You should attempt to get at least three out of four bolts installed.
Put the back piece on along the long side of one 2'x4' base piece, bolting it through the whole base piece and tightening securely (remember to use washers). Put the bolts in from the top, and reach underneath the bases to put the nuts on.
Then put the two side pieces on, along the sides which span two 2'x4' base pieces. Bolt these down securely.
Bolt each of the side pieces to the back piece, leaving the bolts sticking inwards.
3. Top Floor
Hard hats recommended from this stage onwards.
Carefully lift the top floor onto the tower. Take care to put this the right way around. One top floor has the edge corner of the ladder cutout as a separate L-shaped piece due to a miscommunication during manufacturing. Put this in place as well. For now, it would be a good idea to place the bolts through the holes into the back and side pieces to prevent the top floor falling off.
4. Ladder
Insert the ladder from the bottom through the gap in the top floor. Bolt down through the bottom rung, into and through the base piece, and reach underneath to do these up. Bolt the ladder to the back piece with all four bolts as well.
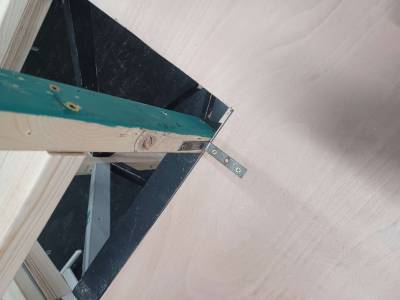
Screw a metal L bracket into the ladder on the inside side, to brace it against the underneath of the top floor. The image below is of the L bracket on top of the top floor, but it is much easier to put it on underneath.

